Saturday, November 20, 2021

Do You Want to Make a Snowman

Continuing on my Christmas card journey with Tim Holt's 12 Tags of Christmas... 

2007 - Day 2 

The technique I used from his tag was using paint to stamp and emboss. I really do not think that I have ever done this, but I really like how it turned out. Also, to do the background, I used the tried and true techniques of Distress Ink rubbed on your craft mat and mist with water, then run your paper through it. You can see these techniques in detail HERE on Tim Holt's blog. 

For this card, I started with watercolor paper because I knew I would be using water with my Distress Inks and I wanted to make sure that my paper would hold up... sometimes I am quite the heavy mister! 


Once I got the background complete, I finished my card with my own flair from being inspired from the whole process. 


The photo above shows the Distress Inks and stamps I used. Below, you can see how the background turned out. 


The snowman was a lot of fun to make. I cut him out using silver paper and the Tim Holtz snowman die. Then I ran him through my Sizzix Texture Boutique to emboss him. Next, I inked him up, did a little embossing, and dusted him with Distress glitter. 


Once I adhered the Snowman to the background, using pop dots, I inked up the edges to make them darker. 


I am off to spend the day in my studio. I cannot wait to make more Christmas cards, I have canvas I am working on, and I am part of a traveling Art Bible group, so I will be working on Bible Art Journaling today too! 

Until next time... Happy Creating! 


Saturday, November 13, 2021

It's beginning to look a lot like....

Christmas Cards! I have been wanting to make Christmas cards for quite a while. Every year I buy more stamps and Christmas Paper in hopes to make Christmas Cards and to scrapbook that Christmas. Well... my collection is quite big now! 

So the other night I was thinking about how much joy I had sitting down every night following Tim Holtz as he did the 12 Tags of Christmas. Oh! I was one happy scrapper! Learning the new techniques, connecting with scrappers all over the world, and pushing myself to use what was in my stash. More than not, my tag turned out completely different, but that time I spent in my studio is something I will always remember. 

2009 is the year that I truly discovered Tim Holtz and Ranger Ink. I had Distress Inks, but weren't they just regular stamp pads? I remember buying my very first Distress Ink Pad. Worn Lipstick. What a pretty color. What a cool name. ...little did I know. 

I cannot believe I am sharing this photo, but here I am, 2009, sitting at my desk doing the 12 Tags of Christmas for the very first time. I was married at this time and he snuck in to take a photo, knowing how excited I was to be following along... 


A lot has happened since then. But here I am, still absolutely in love with creating. While sitting in my brand new studio I designed and renovated this past year, I was thinking about that first year and the following years of doing the 12 Tags of Christmas, and I thought, why not start at the beginning and do it all over again. I was so incredibly sad when Tim Holtz announced he would no longer be doing the 12 Tags of Christmas. It wasn't about having to run out and buy new product or make the exact tag. It was a creative and magical time to kick off the Christmas Season. A time to learn new techniques and connect with the crafting community. I still miss it all these years later. 

That is probably what inspired the "12 Tags of Christmas, revisited" idea. So, the other night, I came into my studio, went to Tim Holtz's Blog, back to December 2007, and started with Day 1. (Click Day 1 to be taken to his blog post of the first day of 2007) 

...and here is what Day 1 inspired for me: 


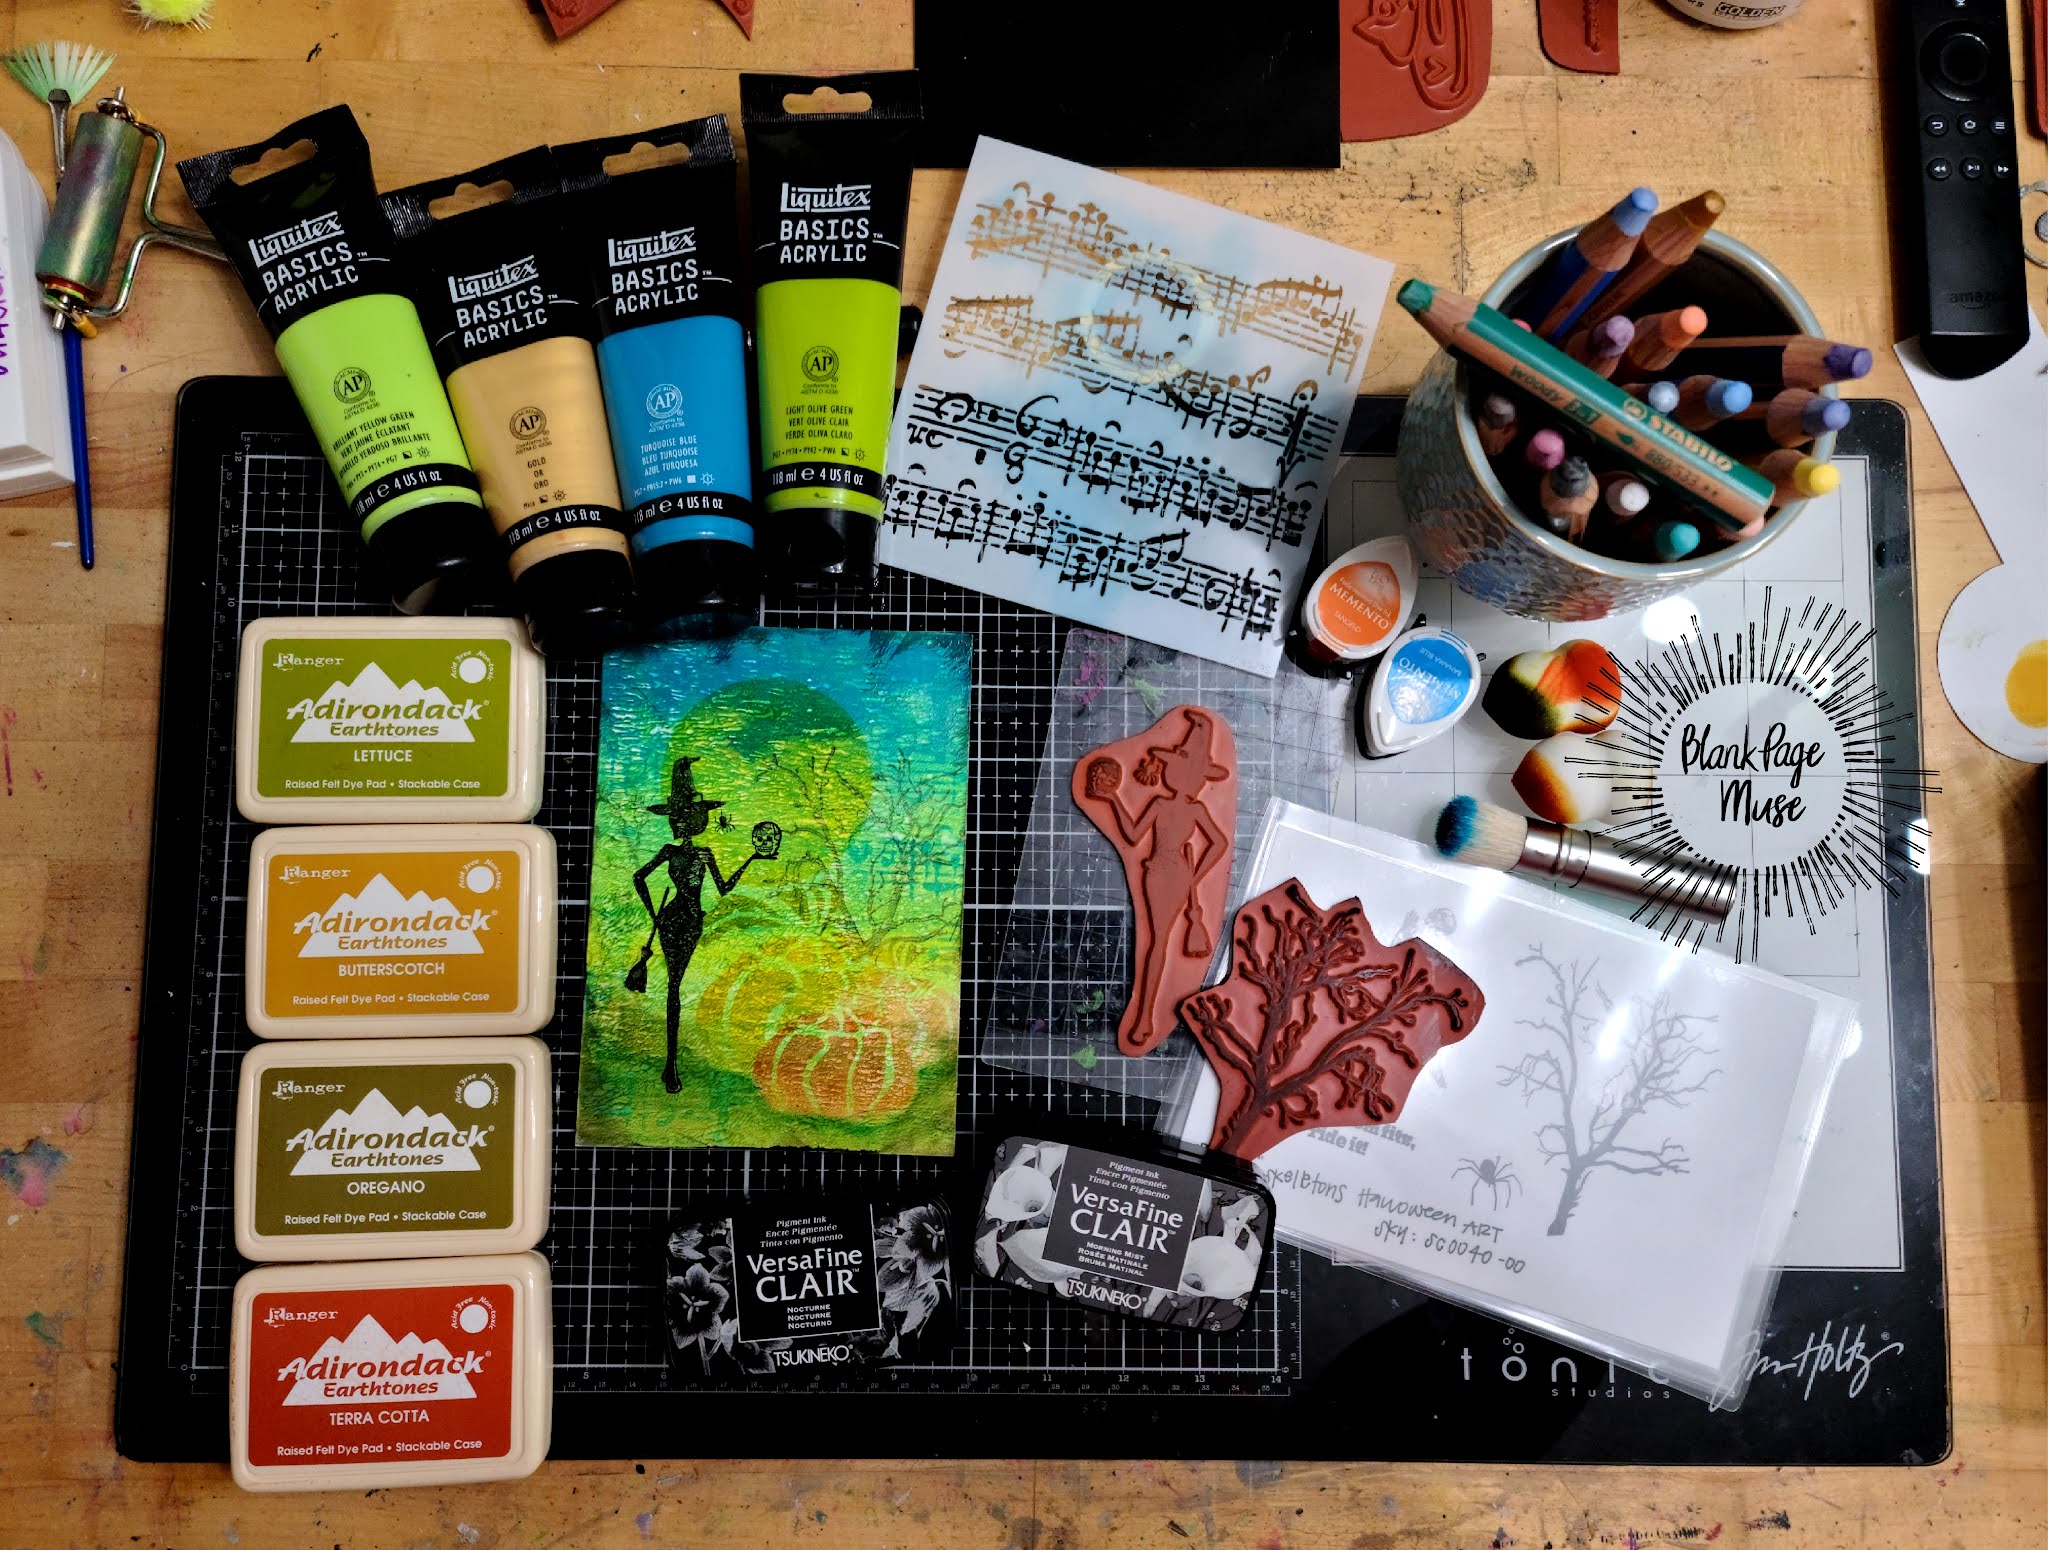
I wish I would of taken a selfie to show how big my smile was. The Christmas music was playing and I just got lost in creating. The inspiration I took from his tag was Distress Crackle Paint. And that is where I started: 


From there, I used various green and red Distress Inks, Distress Mica Stain in Tree Lot & Peppermint Stick. The stamps are from The Poinsettia stamp set. 

I hope you follow along to see what each tag inspires and I so hope you play along as well. If you have any questions leave in the comments and I will make sure to answer them. My hope is to continue to have fun and get lost in Christmas creating as well as inspire you to jump in and see where it takes you! 


Until next time.... HAPPY CREATING! 


Friday, November 5, 2021

Back to the Basics... Playing with Paper.

Happy Friday! The past few weeks I have been in my studio more than I have in a long time. Most of what I have been doing has been scrapbooking. Scrapbooking is such a passion. Recording my memories using my love for creating. Reliving the moments that were captured in a photograph. 

Today I have one of those layouts to share with you... 


I created this using the brand new paper line from Blank Page Muse: Cyan Consortium, designed by Pam Bray. 

I started by picking four of my favorite patterns from the paper pack. Then, after going through my paper stash... (You know the thousands of sheets of paper we have collected over the years), I chose papers by GCD Studios. I remember buying these papers. Picking them out to coordinate to go together for a layout. ...like 10 years ago! 

Once I gathered my papers, it was time to play. If you imagine the layout as a sketch, it is a fairly simple one. But dressing it up with the beautiful papers from Blank Page Muse and, of course, the most precious picture of my puppy in her winter coat, the layout comes together looking elegant and, "snow cute!" 

EMBELLISHMENTS: 
The flourish was unfinished chipboard that I painted with Distress Paint and then embossed with Distress Glaze. (I LOVE the Distress Glaze Embossing Powders!) 


Some metal embellishments mixed with some scraps of paper and fabric, some alphabet stickers and embellishing was complete. 

The title was something I had a lot of fun creating. I used a new program and was able to draw my title and then import it into my Silhouette Design Studio and cut it out on my Cameo. I was so so excited about learning how to do this!!! 

Once the title was adhered the layout was complete. 


I hope you have been inspired to play with paper this weekend and record some of your own special memories.

Until next time... 

Happy Creating! 


Friday, October 29, 2021

Bewitching!

The project I am sharing today started as a fun experiment with my Gel Press and paints. A while back I went on a specialty paper buying spree in search of a similar paper I had seen online in a technique. Now, I have all these different papers and have been playing with how different techniques turn out on different papers. 

This project was made using the paper shown below. Basically, this is a plastic paper....


I used the Gel Press and acrylic paint to create my background. Because the paint sits on top of the paper and is not absorb into any part of the paper, it created and amazing texture background. 


It did take a moment for the paint to dry. I did use my Ranger Heat Tool to help speed it along. I have played with this paper before and one thing that I have found is, if you don't like how it turns out, you can literally wipe it off and try again. This attribute is a blessing and a curse. Once you get your art the way you want it, you will need to seal it with a spray sealer. 


The next step was stenciling the pumpkins with the Pumpkin Trio Stencil and stamping the Witch Silhouette. I then used a grey ink and the tree from Skeletons Halloween Art Set to stamp the trees in the background. 
Once I was done stenciling and stamping and inking up the edges, I came back and added one last stamp: Witchy

All the supplies I used are pictured below....


Make sure you check out so much more inspiration at the links below:

Until next time... Happy Creating! 

Friday, October 1, 2021

Hear, See, & Speak No Evil.... Just stamp!

 Happy Friday! This past weekend I spent the ENTIRE WEEKEND in my studio creating. It was absolutely the best time. Today, I am sharing a layout that I created while getting lost in my studio. Everything about this layout I love and it was a lot of fun doing a masking technique while also stamping in an unorthodox way. Are you guys ready to get inky!? 


I had been wanting to do a hexagon background. What better time than for a Halloween Layout? So I grabbed my laptop and created a stencil in Silhouette Studio and cut it out using my Cameo. 


I then set the stencil on top of the pattern paper: My Mind's Eye Mischievous Line. Using the hexagons that were cut out as a mask, I started stamping each negative space using the Blank Page Muse Grunge Cobwebs Halloween Background by Pam Bray.   I did not use a stamp block, But instead rotated my stamp, pressed down, and then used my fingers for pressure to transfer the ink to my paper. This allowed be a lot more control over where my stamped image was and also allowed for the distressed look. 


Once each hexagon was stamped, I removed all the hexagon masks...


While the stencil was still taped down,  I lightly misted with Distress Mica Stains. I rotated light mists with a slow deliberant push of the spray nozzle to get some bigger blotches of the Mica Stain.  

I then took a black felt pen and traced each hexagon. 


Then I removed the mask and revealed the background to my layout... and I fell completely in love with the results! 


Next I traced three hexagons onto another piece of pattern paper from the Mischievous line, cut them out and then stamped each skull from the Hear, See, & Speak No Evil DriBonez Skulls by Rick St Dennis.  I distressed the edges, inked them up, and then adhered them to my layout with pop dots. 


I then pulled out one of my favorite tools: The Crop-a-Dile! To put eyelets in for the ribbon embellishments. 


I used a couple of the hexagons that were cut out, from the stencil I made, for my journaling. One was a quote and the other was the event where the photo was taken. I inked the edges with Gold ink and stamped a little swirl on it using the Fancy Curls & Flowers Flourish. 


Below are all the supplies that I used....


I am so happy with how this layout turned out. Always think about the different ways you can use your stamps and, by thinking outside of the box, you are opening yourself up to a whole new world of possibilities.

A Happy for you! Jump over to Blank Page Muse and pick up the stamps I used, or anything else that you fall in love with, and use BPMChristine for a 15% discount! 

Have a wonderful Friday and Happy Creating! 

Until next time.... 


Friday, September 24, 2021

The moments spent with you...

 Life is made up of moments. Some good. Some bad. Some are nonchalant. ...and then there are some moments that just take our breath away. They are imprinted into our memory and no matter how much time goes by it seems like only yesterday, and we remember, so clearly, every detail. Even as I type this post to share with you, the memories of the moments that inspired this art journal page dance through my mind. This special person has inspired some of my most favorite pieces. From journaling to the canvas I have hanging in my room. The few, but precious, moments I had with him will always be dear to my heart. 


Using a variety of techniques and some of my favorite stamps from Blank Page Muse, I sat down and captured how these moments make me feel. Whimsical, like straight out of a fairytale. Handsome and strong like he is. Nature, because when I was with him, it was completely as natural and as beautiful. ...and the memories we made, though few, will be with me for a lifetime. 

Look at all the goodies I used! Creating this art journal page was a lot of fun. I had the music on and just got lost in the creative process. No direction, just going where it took me. 


I started with Inking the background up using the Gel Press and Distress Oxide & Distress Mica Stain.


Using Distress Rustic Wilderness, I inked all the edges. 


Then using the Handwritten Note Art stamp and stamped the whole background. 


Now... some magic! 

Using the Medallions Ornate Patterns & Flowers I stamped all over the background and embossed using Distress Glaze. It turned out beautifully!


Now time to put everything together. One of the fun tricks I did was with the tree di-cuts - Sizzix, Tim Holtz Woodlands. After I cut them out, I ran them through my Xyron Creative Station. Before pulling them off, I inked them up. It made working with them so much easier. I do this little trick with lots of my di-cuts! 


The rest just fell into place. A few more di-cuts, a frame, tag, and titling... and wa-la! 


This little journal page turned out better than I could of imagined. ...I think because as I was creating, the love I have was pouring out onto the page as well as the ink, embossing, and embellishments. 

I hope you have enjoyed learning about this Art Journal Page as much as I enjoyed creating it. Blank Page Muse has amazing quality stamps that will inspire your own beloved projects! 

....and, just for you, jump on over to Blank Page Muse and do a little shopping, then use the code BPMChristine to get 15% off your order! 

After that, check out the links below for more inspiration: 

The Blank Page Muse- https://blankpagemuse.com/


FB Fan Page-  https://www.facebook.com/groups/blankpagemuse/


Instagram Shop-  https://www.instagram.com/blankpagemuse/


Instagram Blog-  https://www.instagram.com/blankpagemuseblog/


Twitter-  https://twitter.com/BlankPageMuse


Pintrest- https://www.pinterest.com/blankpagemuse/boards/


You can also follow me on Instagram at the_mad_inker 


Until next time... HAPPY CREATING! 


Friday, September 3, 2021

Don't Give Up... on your project or Life!

 Happy Friday! Today I have a tag full of techniques... and to be perfectly honest, quite a few things went "wrong" on this tag. You know, when you have an idea and in your head it looks amazing, but once executed, not so great? Well, I kept going and this is what came to life... 


I started with a plain manila tag and covered it with a book page. I use Matte Medium for things like this normally.. but when I was at Hobby Lobby a while back I came across Satin Gel and HAD to try it. I really like how it is not glossy, but still not completely matte. 


Once the book page was dried, I inked it up with some Distress Inks and brushed some Gesso over part of the tag.


I then used the thinlet dies by Tim Holtz and cut out some of the background. 
 

Now time for some stamping and embossing fun! I used the tree from the Starbright Gnome Wintery Tree Let your light shine stamp set by Pam Bray.  I stamped in Versamark and used Black embossing powder. This is one thing I really liked at first, but then as the tag went on, it was too bold. I ended up using Picket Fence Distress Paint to dry brush over to make it not as in your face! I LOVE how it turned the tree to a whimsical element on my tag.  


Now this... this just made me smile ear to ear at how beautiful it came out. Using the Flower Shape with Silhouettes & Music, I did a two toned stamp imaged. Just beautiful. If you look at the finished tag, you will see that I cut this out and sprayed it with Perfect Pearls Mist in Perfect Pearl. The shimmer, oh the shimmer! 


I ran a scrap piece of Christmas Ribbon I had save through my Xyron Creative Station to add adhesive to be able to adhere it easily to my tag. I then inked up some Tim Holtz Glassine Paper and adhered it at the bottom of the tag over the top of the ribbon. Then I took some Dylusions Spray and tapped ink splatters all over the tag. Next I glued down my stamped Flower Shape with Silhouettes and Music and took a piece of scrap paper, hand cut to the size square I needed and inked it up and wrote my quote. 


Sometimes we so easily throw out a project when it doesn't go as planned. I challenge you to have hope and keep trying. You never know what amazing project you will come up with! 

Until next time... HAPPY CREATING! 


Jump over to the Blank Page Muse Website and use the Discount Code BPMChristine for 15% off your order! 

Click the links below for more inspiration and to connect with the Blank Page Muse Community!

The Blank Page Muse- https://blankpagemuse.com/


FB Fan Page-  https://www.facebook.com/groups/blankpagemuse/


Instagram Shop-  https://www.instagram.com/blankpagemuse/


Instagram Blog-  https://www.instagram.com/blankpagemuseblog/


Twitter-  https://twitter.com/BlankPageMuse


Pintrest- https://www.pinterest.com/blankpagemuse/boards/